Arc reactor made with 3D printing and RGB LEDs
Posted: 2014-10-31
Introduction
The inspiration for this project came from the Adafruit video on their arc reactor that was posted the halloween before I made mine. When I first saw the video I didn’t have a laser cutter or 3D printer so I wasn’t able to build one. Last June however I got a Printrbot Simple Metal which I used to 3d print a housing for some leds, a microphone, micro controller, and a microphone to react to the music.
3D Printing
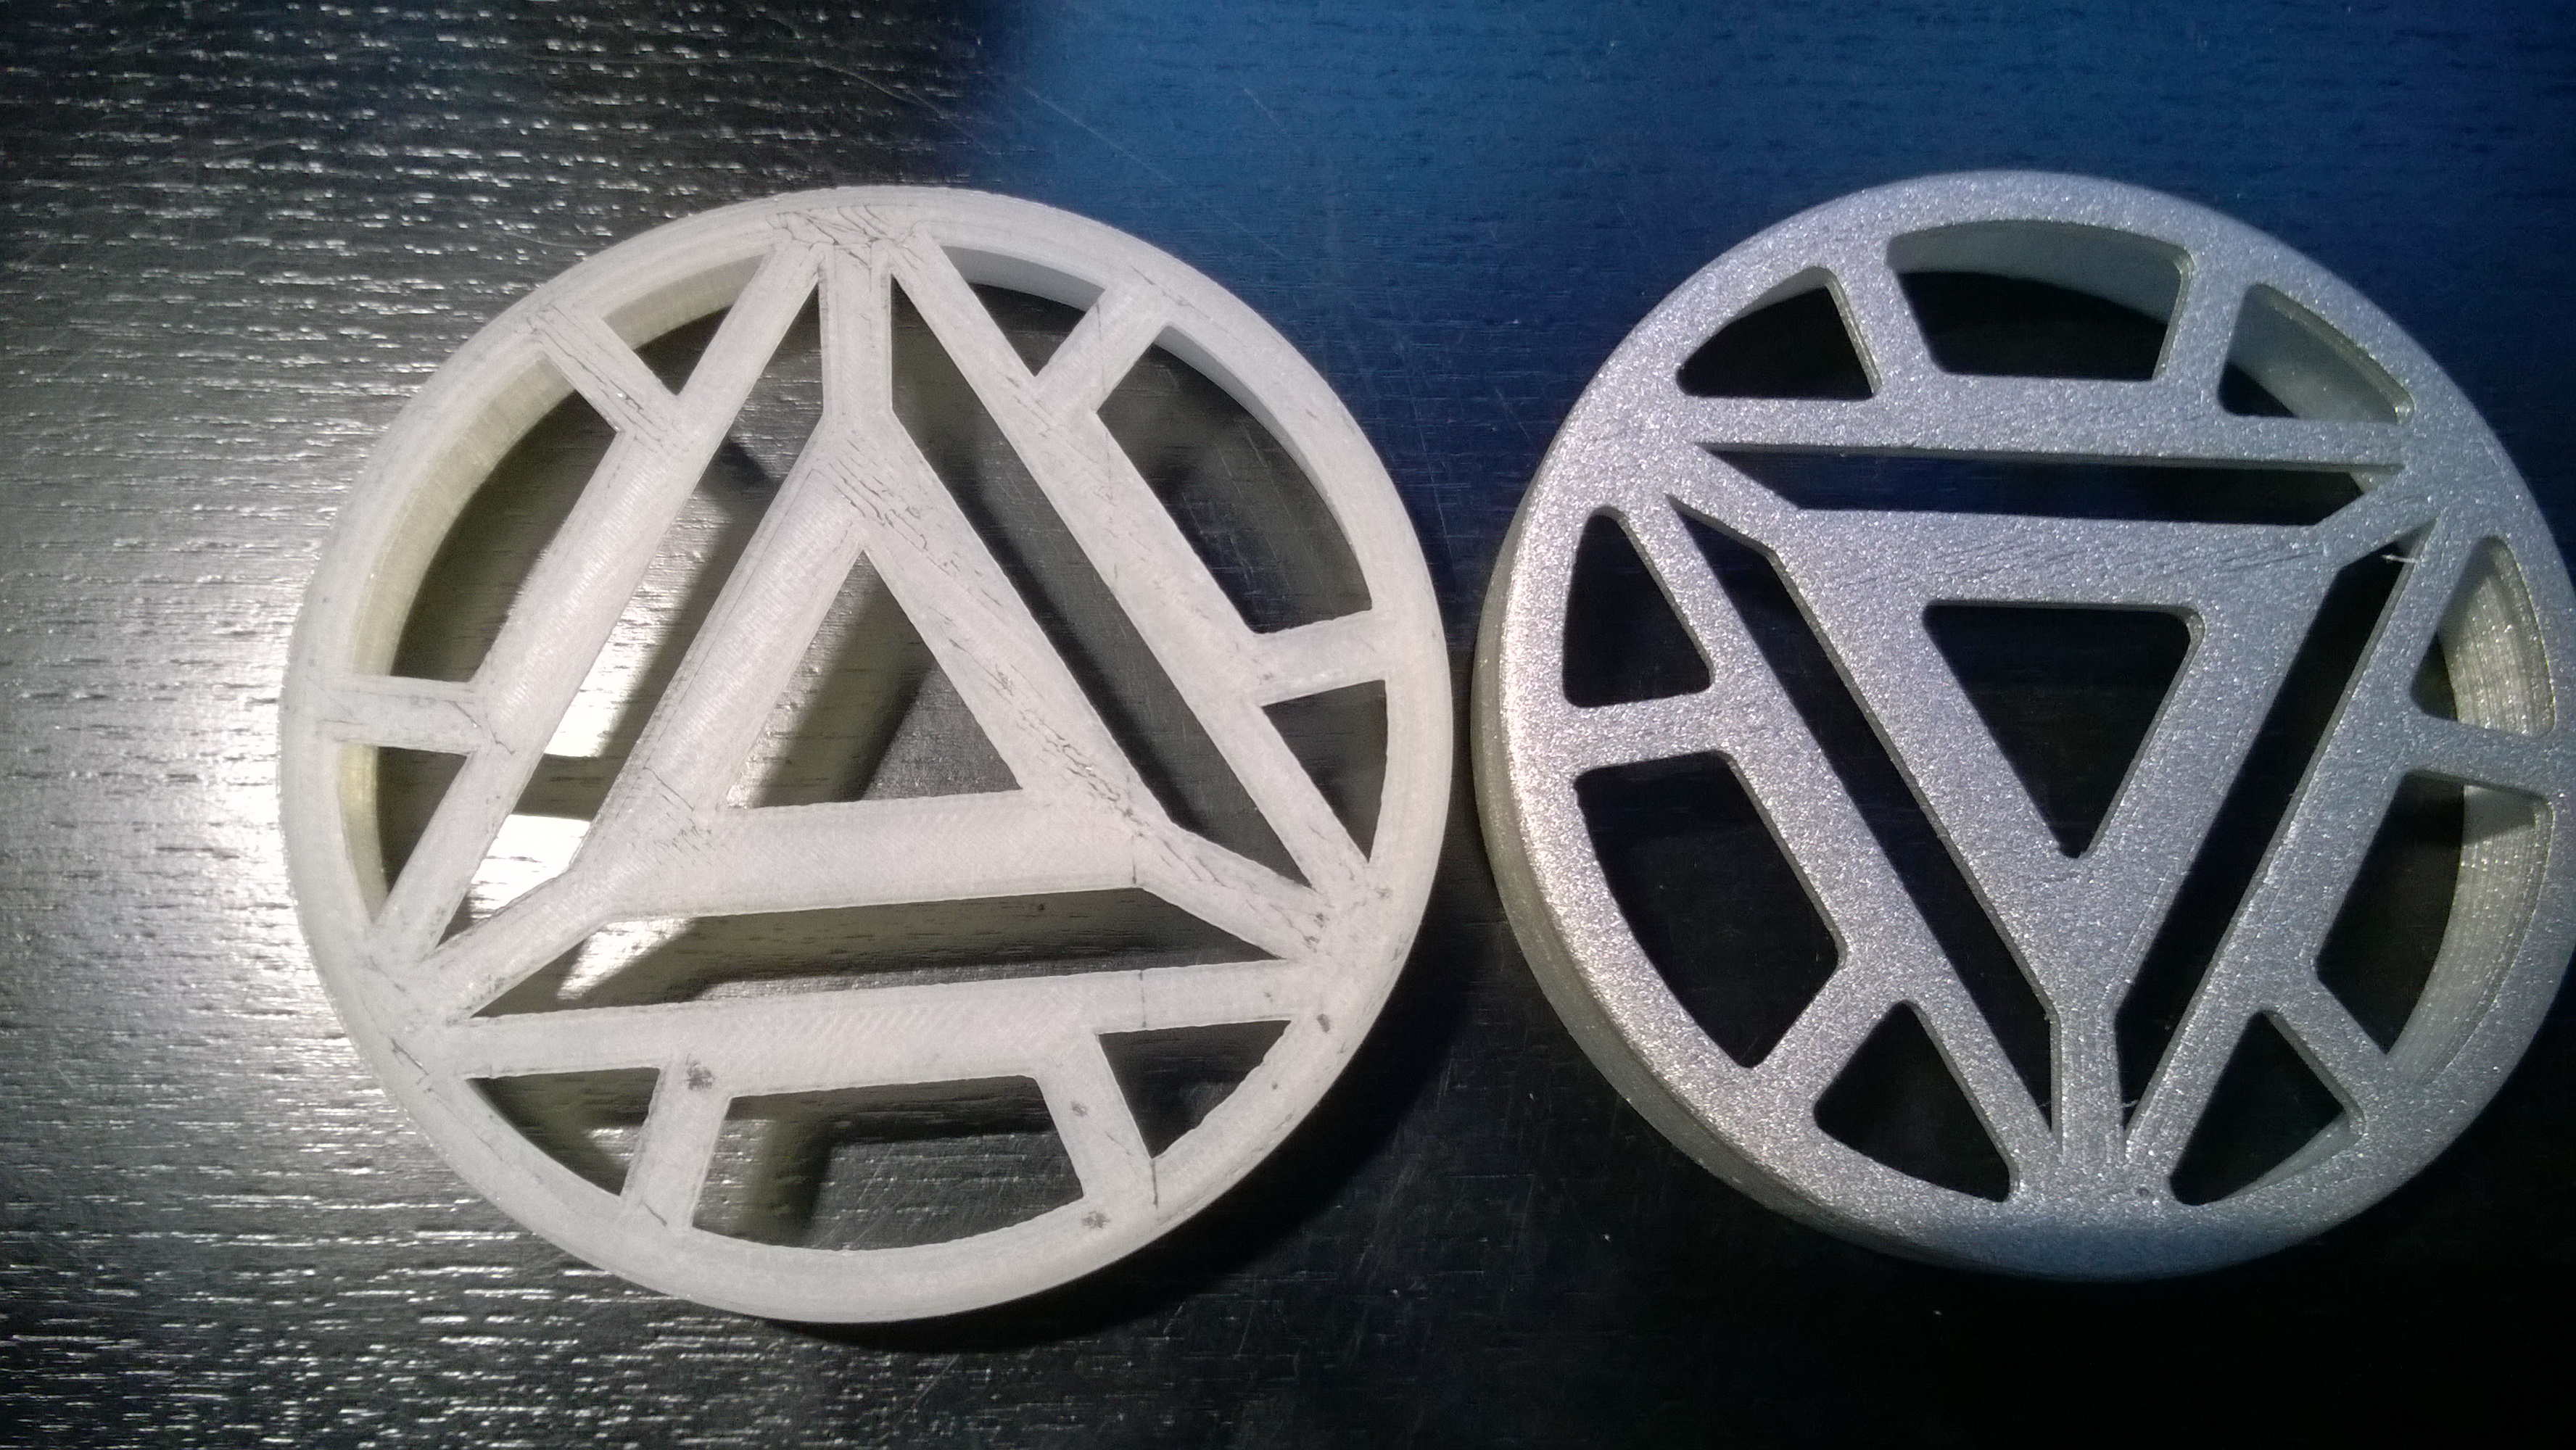
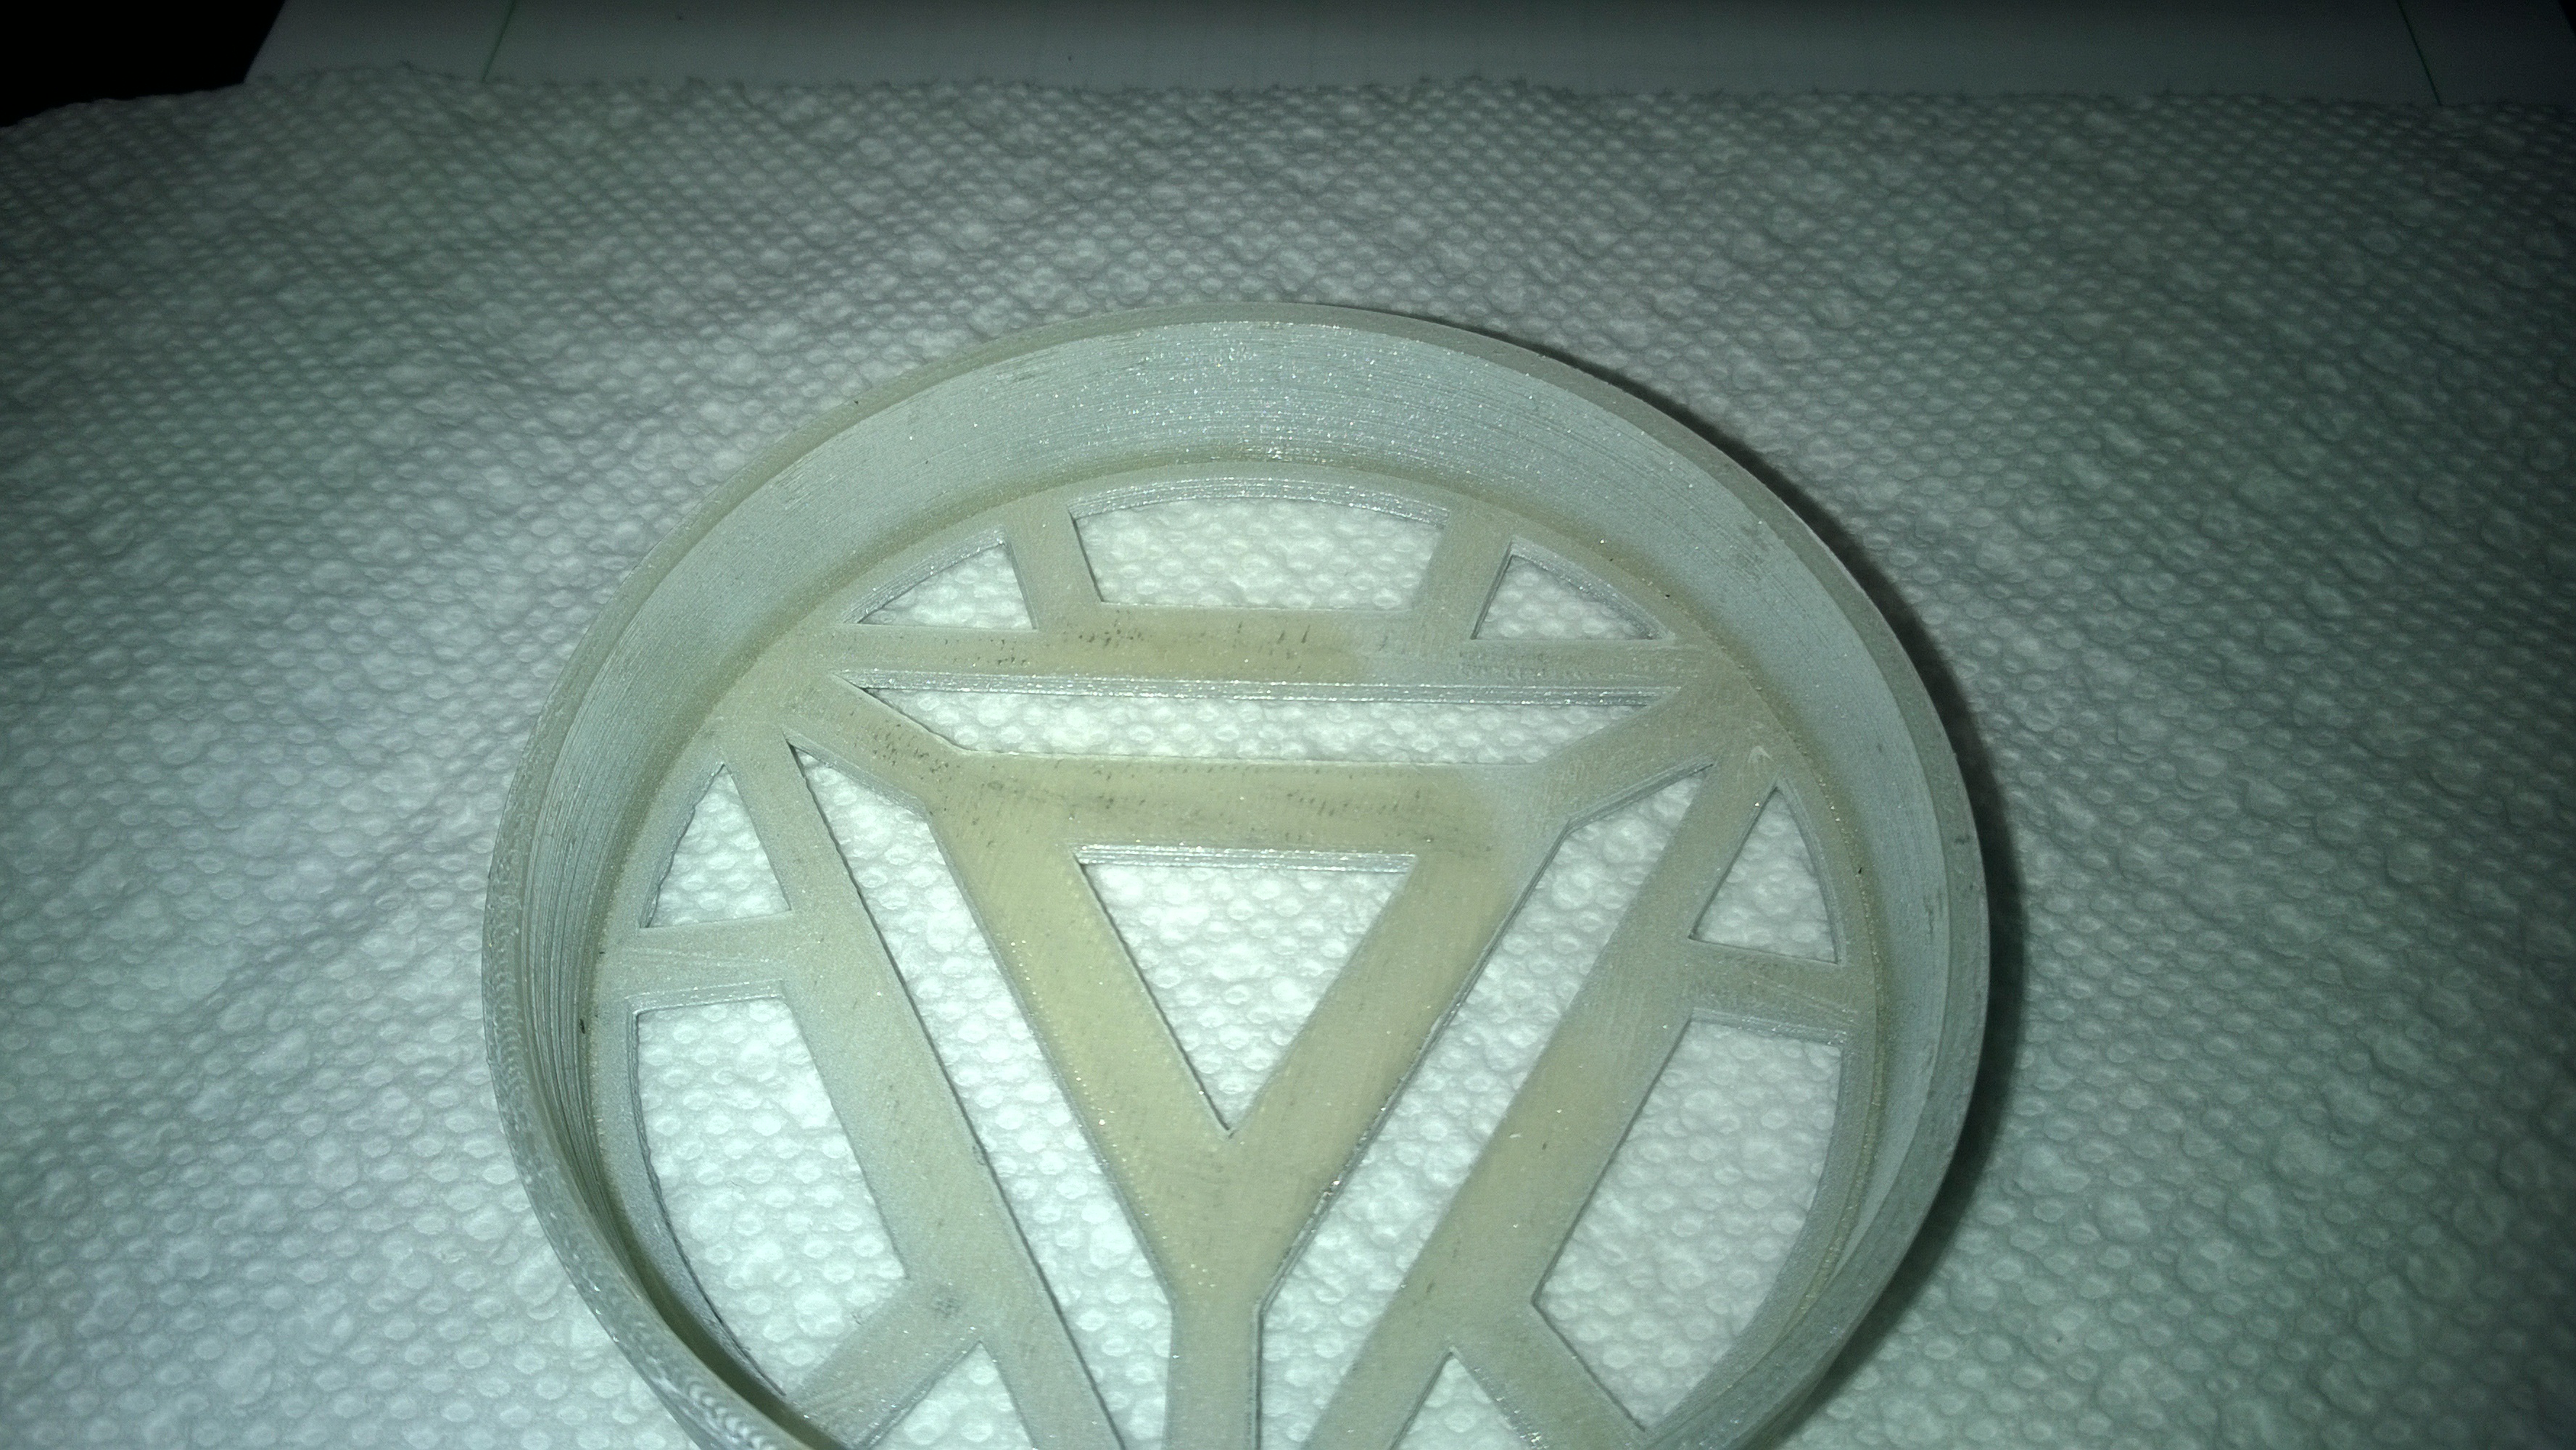
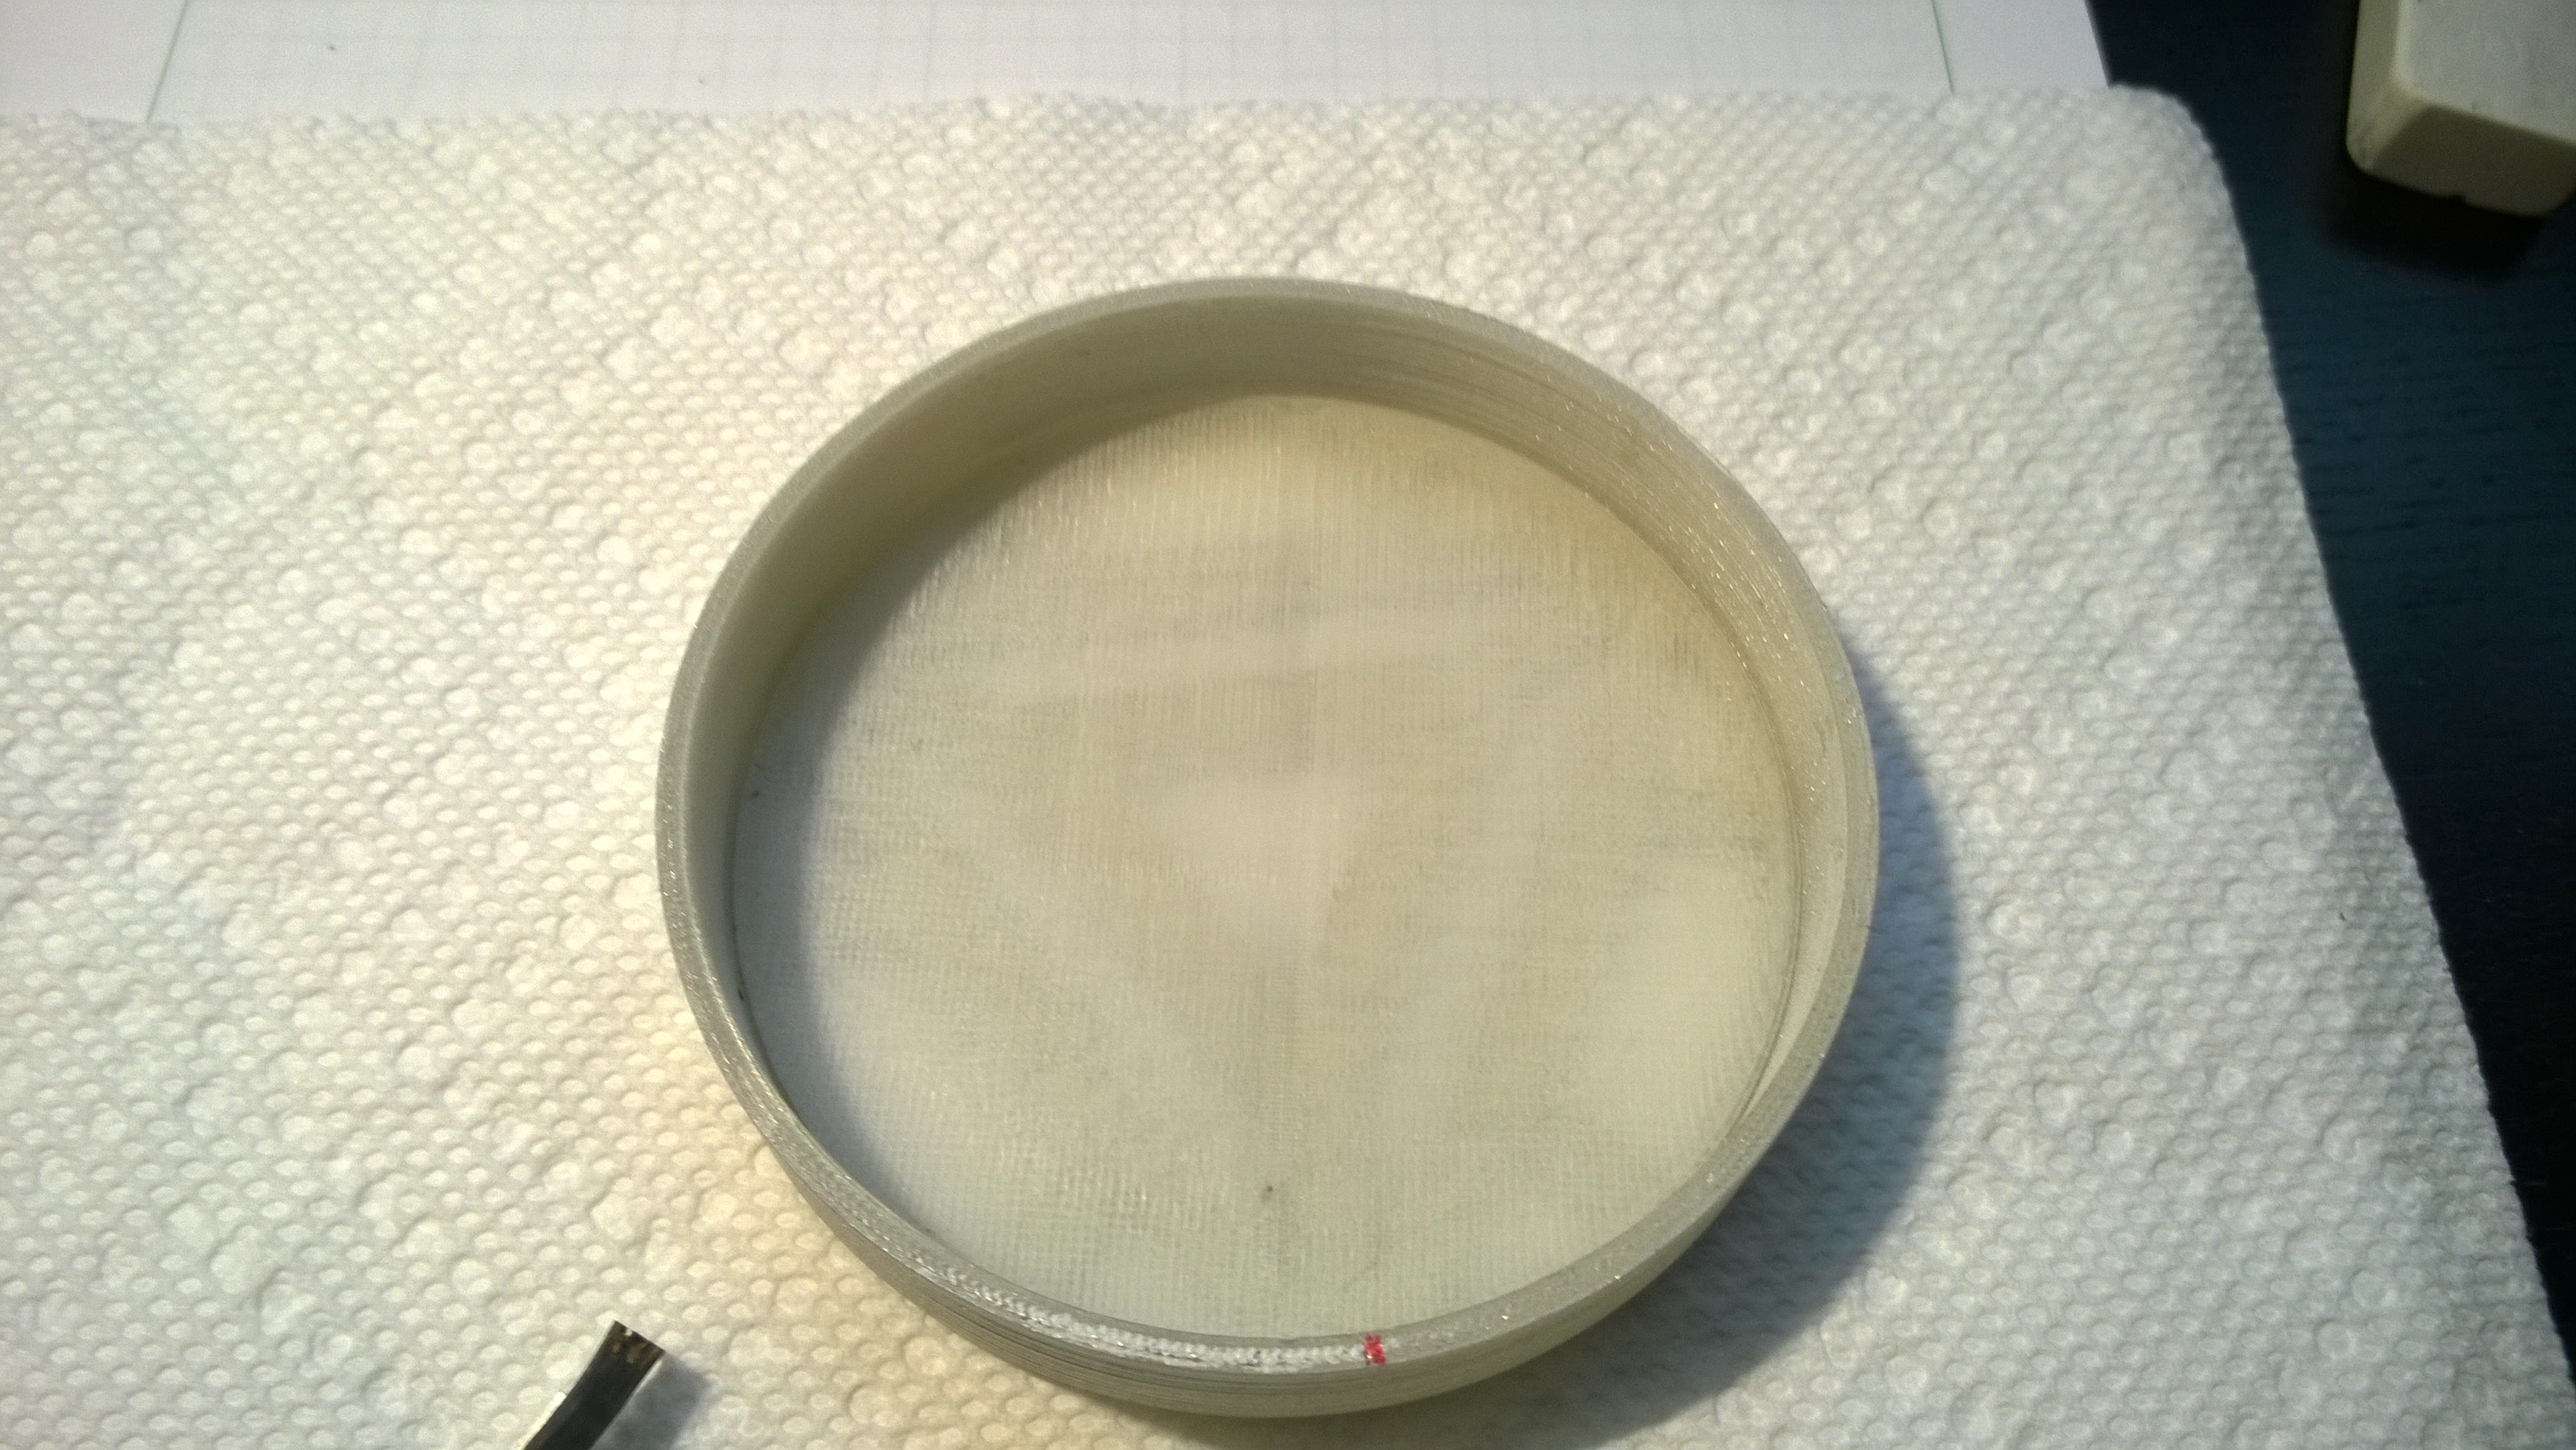
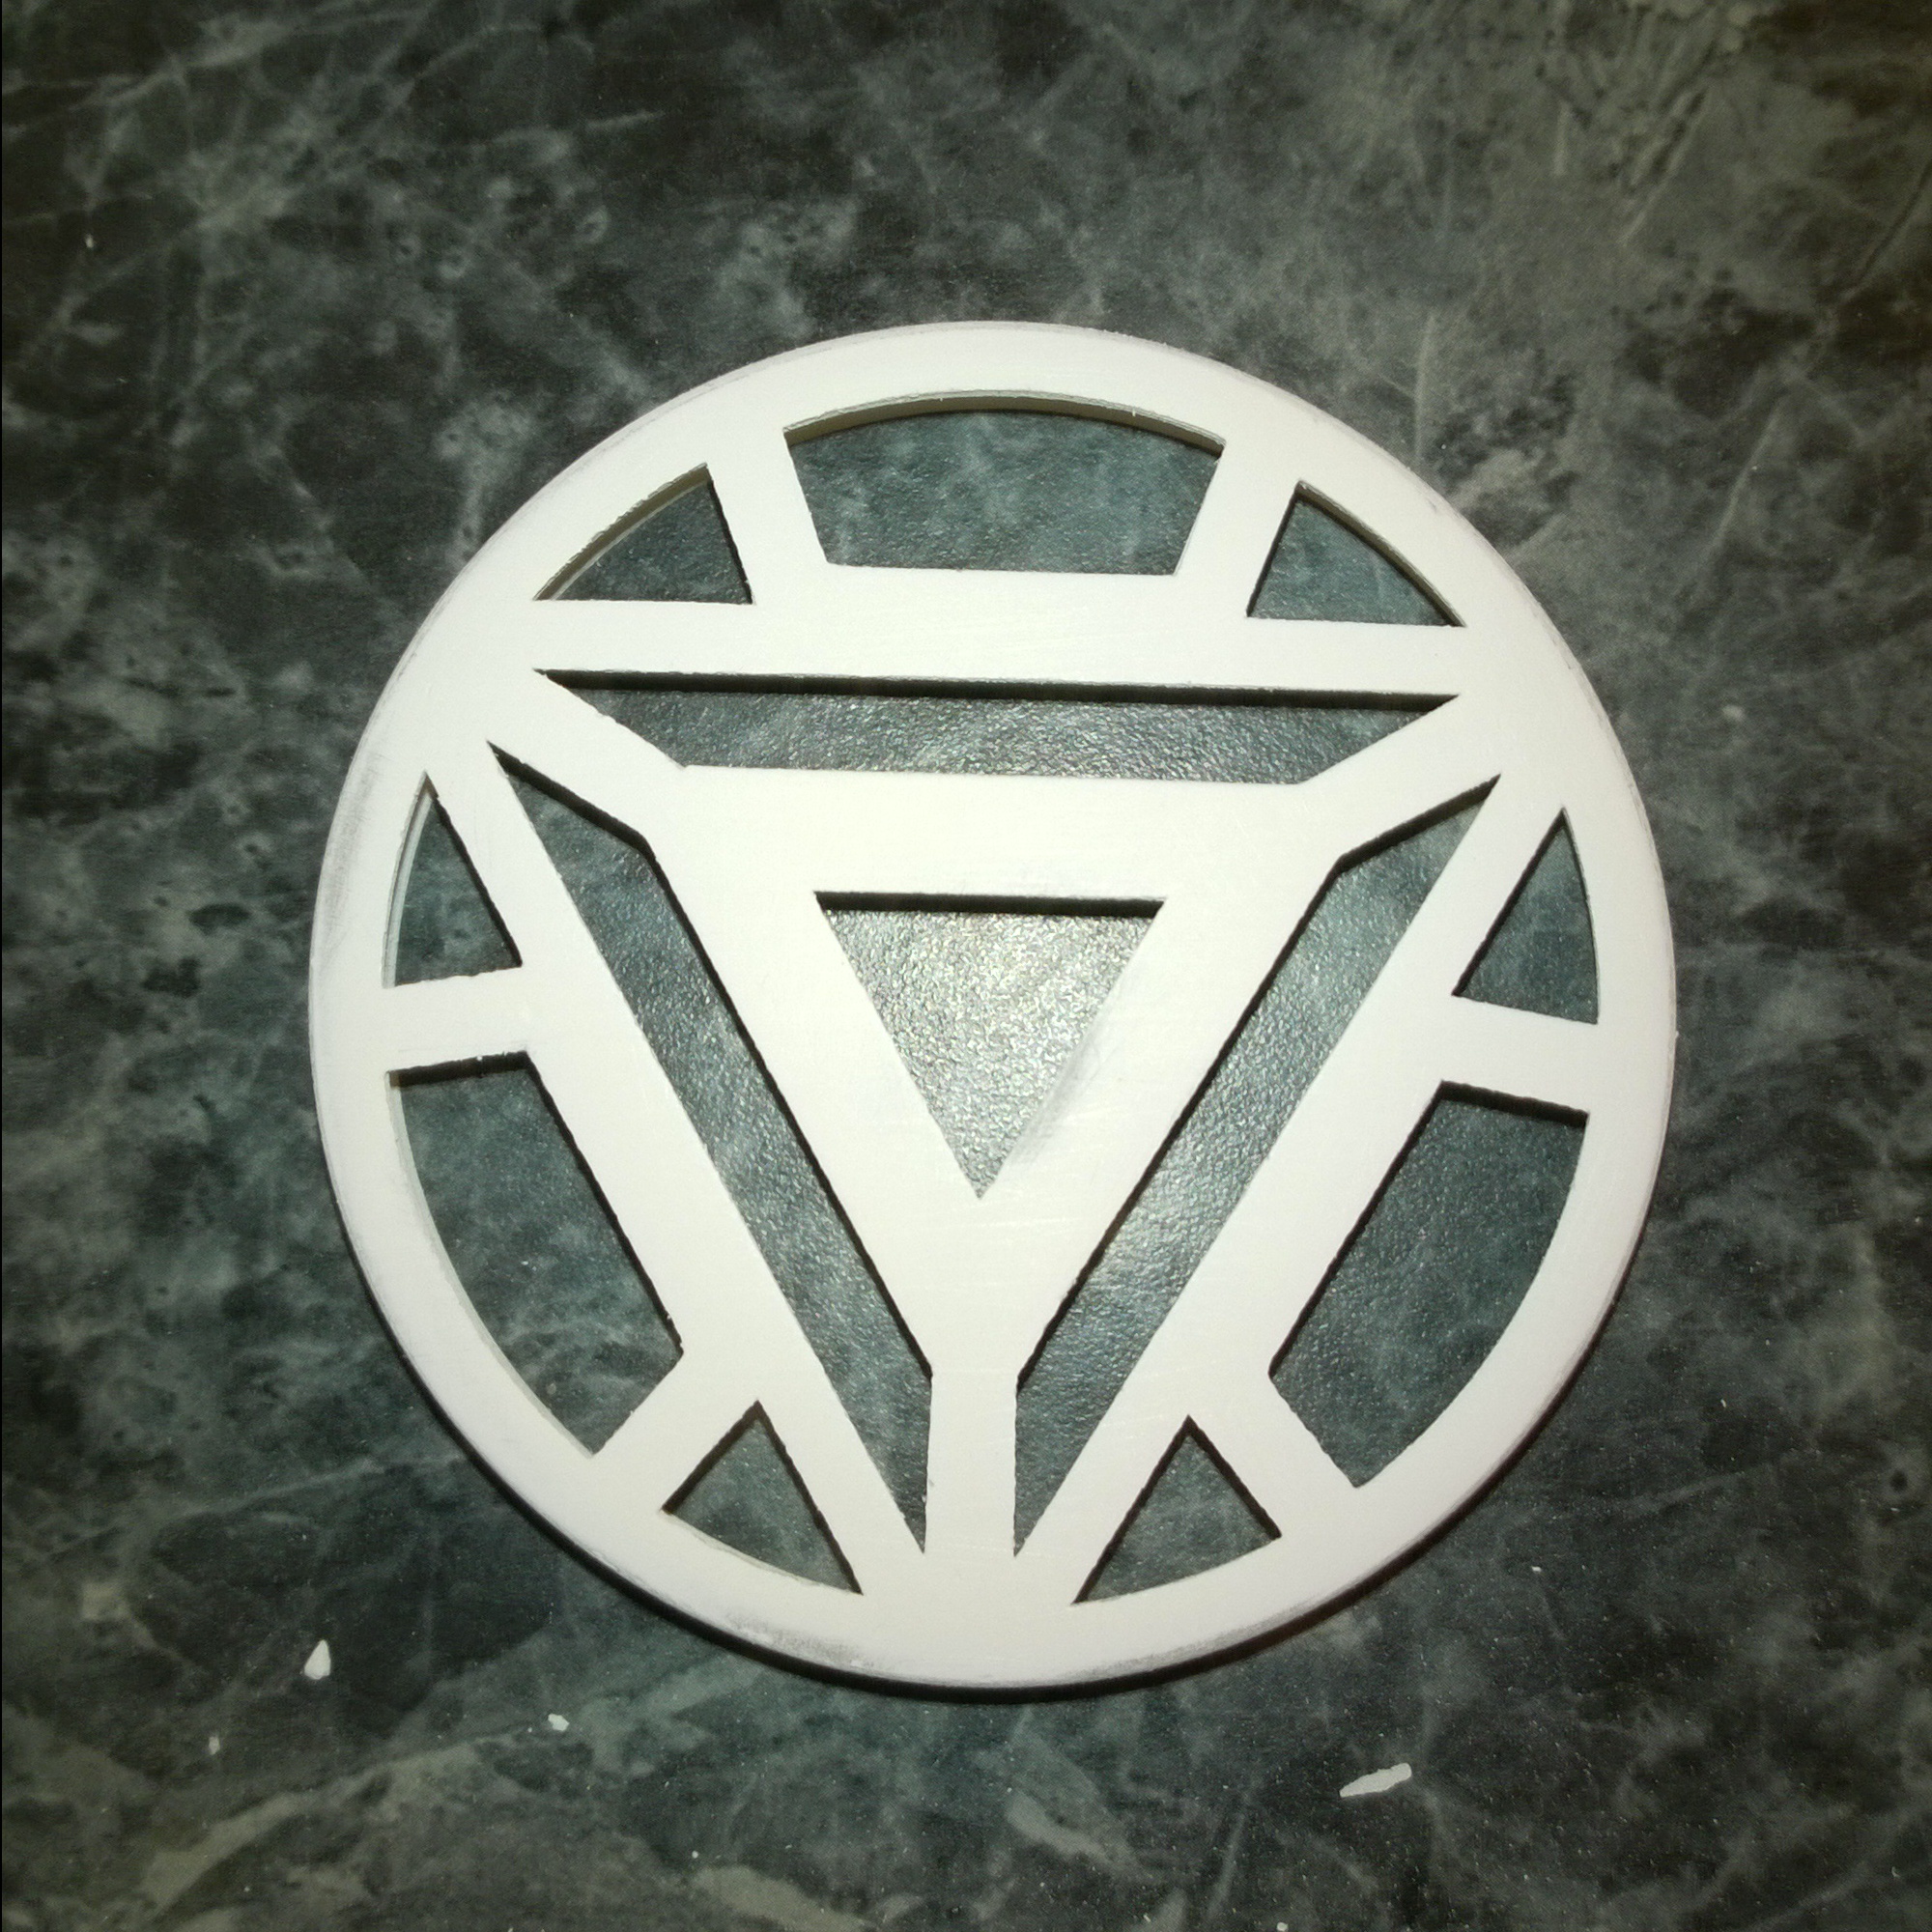
I originally printed an arc reactor I found on thingiverse but I can’t seem to find it now. I printed that model out but I wanted to modify it a bit, so I remade it in Inventor with straighter edges, and most importantly a 1mm wide channel to place a neopixel strip around the inside of the ring (see picture below). The final version was printed in 100% infill because I was originally wanting to diffuse the light through the translucent plastic, but later changed my mind. Using an opaque filament would be better because right now the light bleeds through even though it is painted.
To get the neopixel strip to fit better I cut along the edge so it wasn’t as wide and would fit in the channel more nicely.
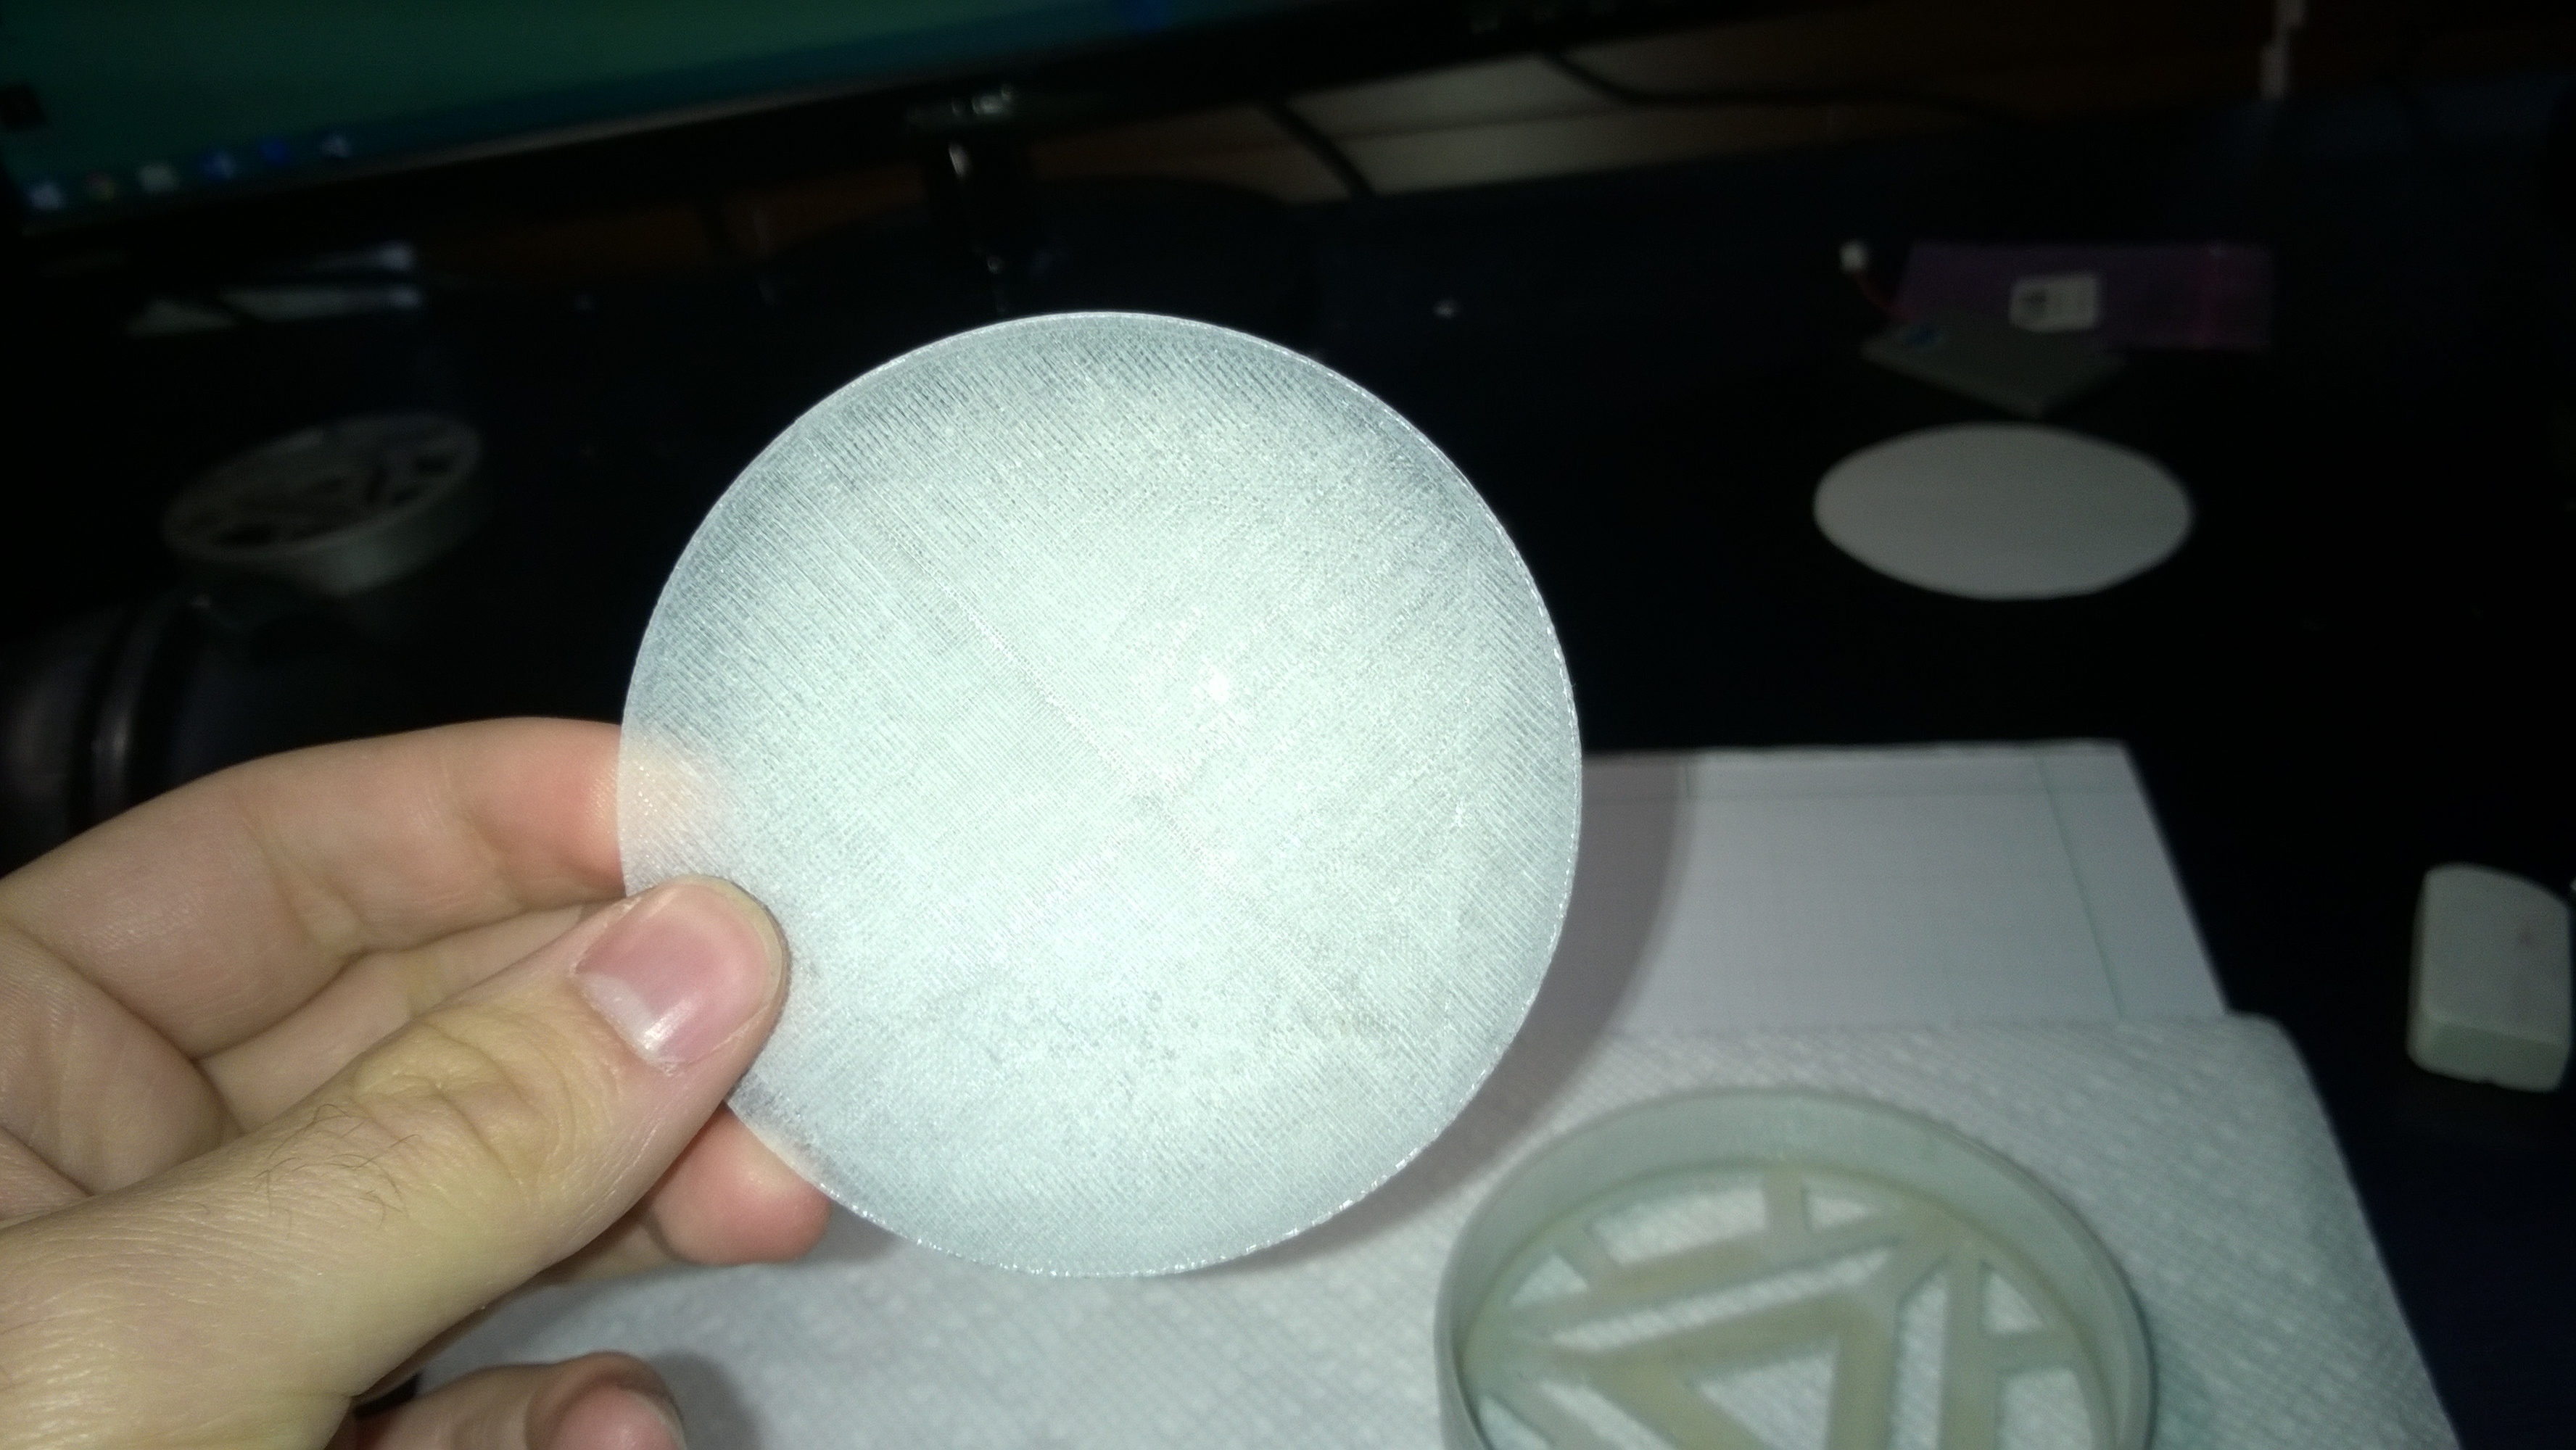
To diffuse the leds I printed a diffuser with natural PLA from toybuilderlabs.com. I think it was 2 or 3 layers thick at 0.2mm layer height and then I sanded it to make it smoother and thinner.
Unfortunately when I was building it I didn’t take any pictures of the leds in place, but they go around the edge and face towards the center of the reactor. I did this in hopes that the light would be more even instead of seeing the lights head on.
Painting
I ended up doing a lot of primer coats and sanding to try and fill in some of the divets that were there from the 3d printing.

Electronics
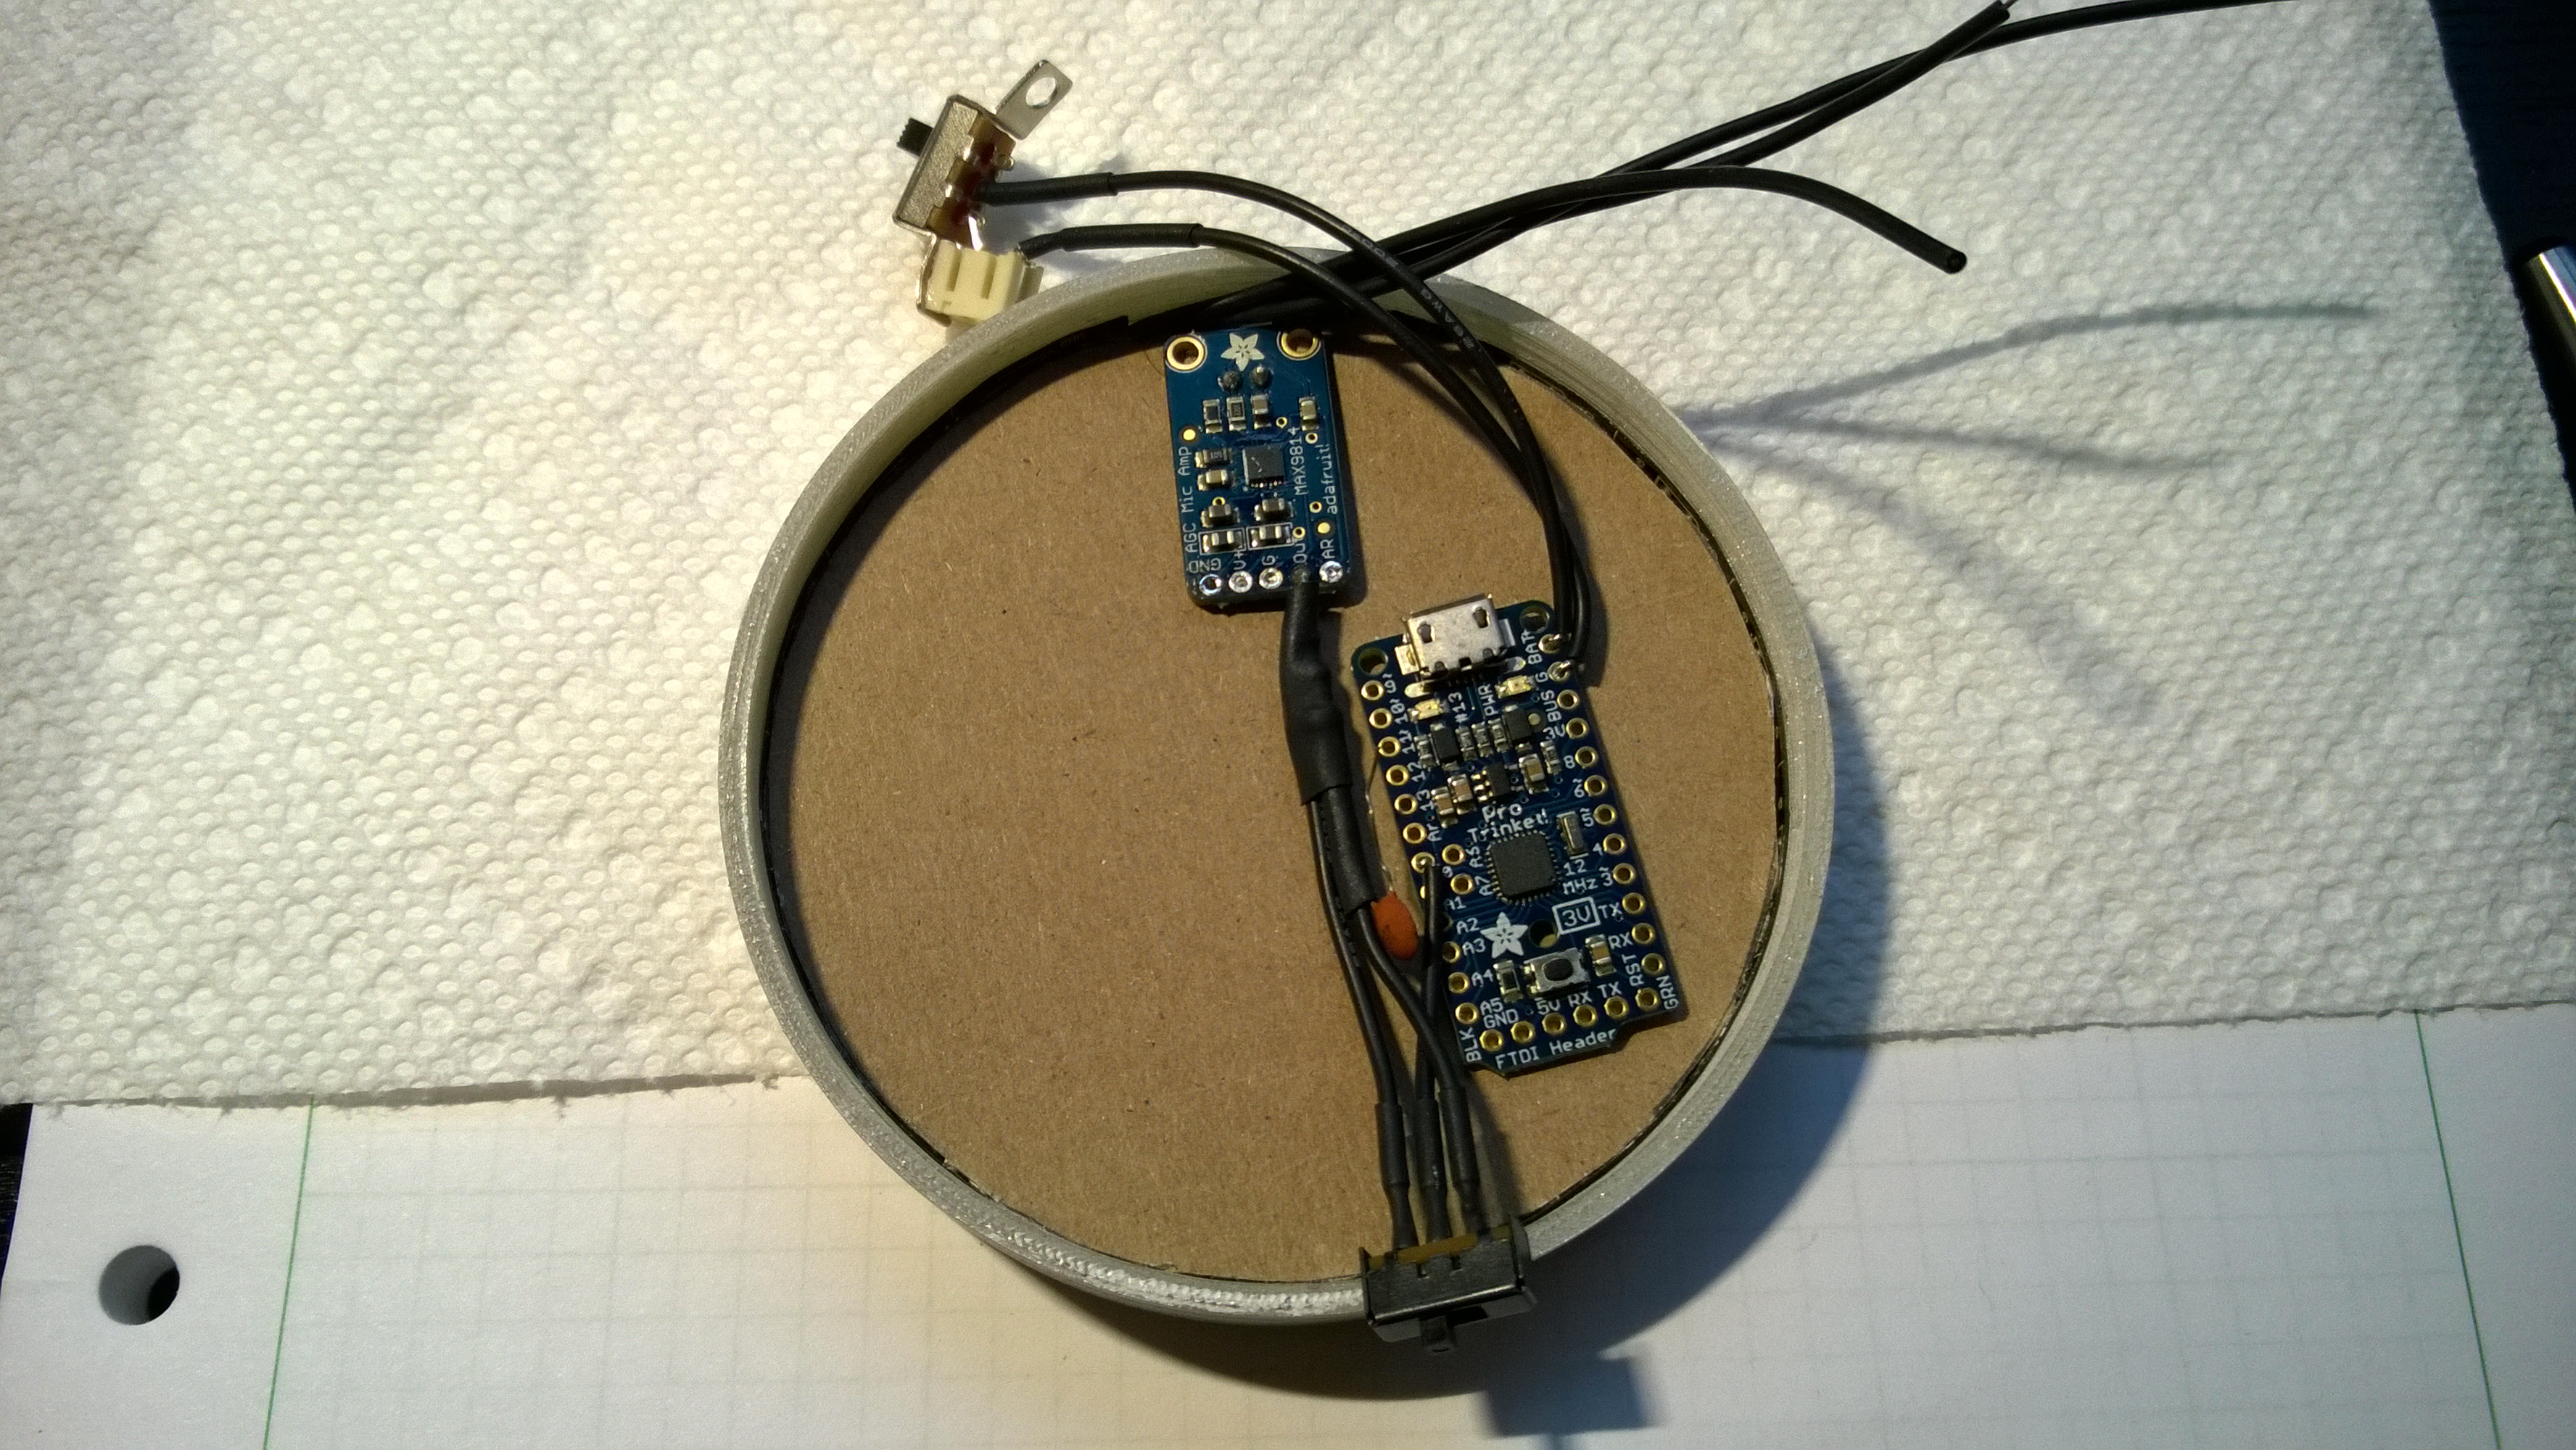
The cardboard is from a cereal box with the other side painted white to reflect more of the light from the leds. If you look closely you can see the cardboard sitting on top of the leds (the actual leds, not the flex pcb).
I used a dremel to cut out spots for the switches and the strap.

Using an 850mAh battery, Adafruit’s auto gain microphone, and Adafruit’s Pro Trinket. The left switch is the power switch, middle switch is to switch the microphone board between being fed right into the mcu or going through a low pass filter. I should have used a lower frequency on the low pass filter as it was constantly on when subjected to very loud music. Everything was tacked down with a little bit of superglue to hold it in place. I was originally going to use a non pro version of the Trinket, but used the pro version in case I wanted to add a bluetooth low energy module in the future to control the various led modes.
Finished!
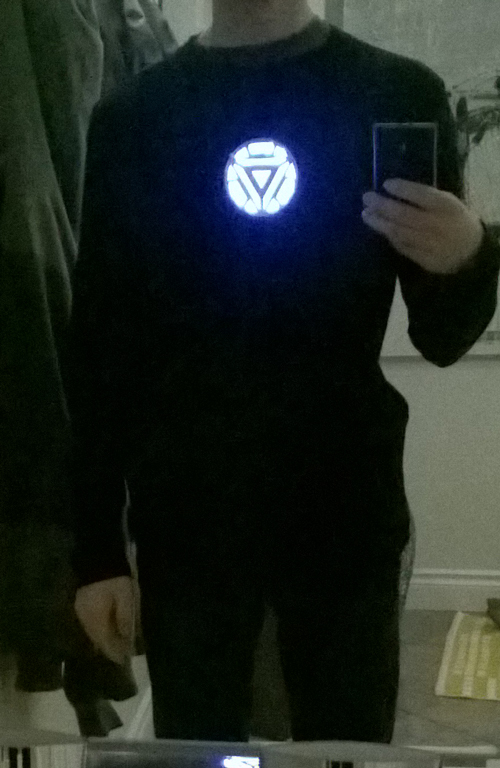
Video of one of the sound reactive modes:
Bill of Materials
| Part | Description | Price (USD) | Link |
|---|---|---|---|
| 3D printed shell | http://www.thingiverse.com/thing:805521 | ||
| 3D printed diffuser | http://www.thingiverse.com/thing:805521 | ||
| Neopixels | 60 LEDs per meter, (15 leds needed) | $24.95 | https://www.adafruit.com/products/1138 |
| Battery | 850mAh LIPO | $9.95 | https://www.sparkfun.com/products/341 |
| Microphone | Automatic gain | $7.95 | https://www.adafruit.com/product/1713 |
| Micro controller | Adafruit Pro Trinket (3V) | $9.95 | https://www.adafruit.com/product/2010 |
| JST connector | To connect the battery | $0.95 | https://www.sparkfun.com/products/8613 |
| Silicone wire | Wire used to connect everything | $0.95 | https://www.adafruit.com/products/1970 |
| Power switch | $0.13 | http://www.taydaelectronics.com/slide-switch-1p2t-solder-lug-0-5a-50vdc.html | |
| Low pass filter switch | Could get from taydaelectronics cheaper | $0.95 | https://www.adafruit.com/products/805 |
| Toggle button | Momentary push button | http://taydaelectronics.com | |
| Strap | |||
| Total | $55.78 |
The code isn’t the best, but here it is if you want to look at it: https://github.com/nocduro/arc-reactor